One avatar. One voice. Ten languages.
A multilingual video does not need to be recorded ten times. VANIV Avatar Studio combines the same portrait with the same VANIV voice and creates distinct language versions. The face, delivery and visual identity remain consistent while the language and message change.
The ten examples feature the same avatar speaking German, English, Spanish, French, Italian, Portuguese, Russian, Japanese, Korean and Chinese. You can compare pronunciation, rhythm and lip movement across languages directly.
Choose a language, start the video and experience the same avatar and voice in a new language version.
More than a talking photo
Making a photo talk is the visible part of the workflow. The real value is created before and after that step.
A conventional video requires a camera, lighting, a microphone, a suitable background and a new recording session. When the script changes, part of the production has to be repeated. When the same content is needed in several languages, additional recordings, speakers or external services are usually required.
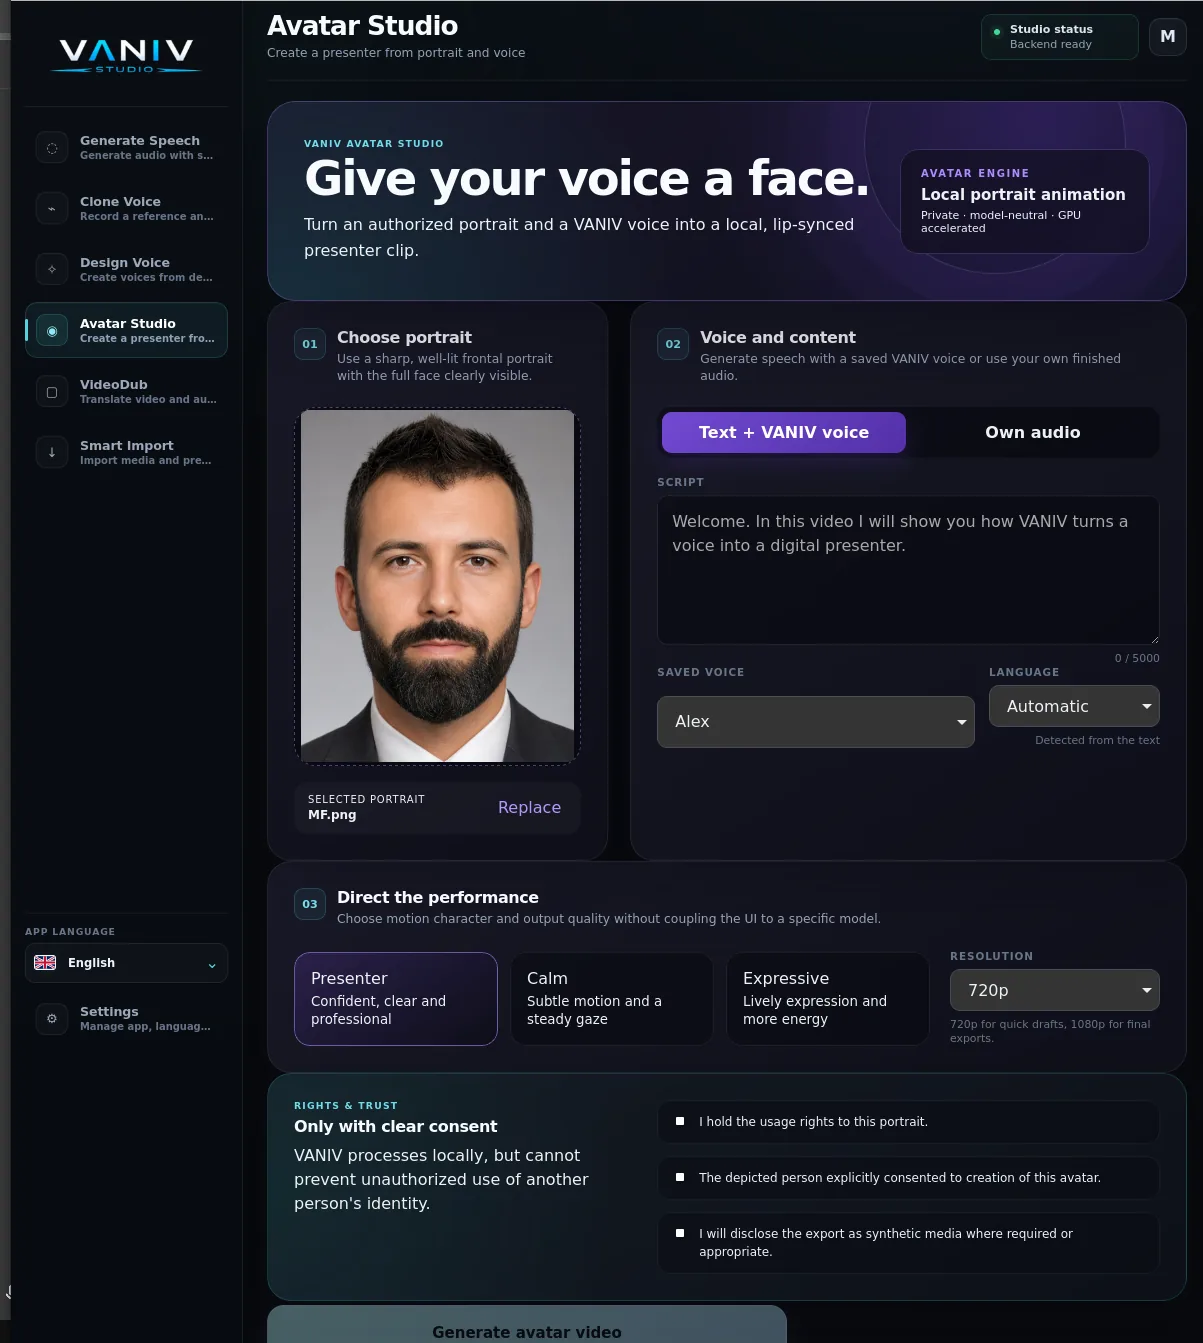
VANIV Avatar Studio shortens this process. A suitable portrait provides the visual foundation. Your text is voiced with a saved VANIV voice, or you import a finished audio file. VANIV then aligns lip and facial movement with the speech track and generates the avatar video locally.
The avatar is not an isolated effect. It is part of a complete VANIV workflow: design a voice, clone your own or another clearly authorized voice, generate audio, animate an avatar, produce additional language versions, translate existing videos, add subtitles and export the result.
This creates a reusable production workflow instead of a one-off demo clip. You can use the same avatar and voice for new videos, series, courses, product presentations and international content without starting from scratch every time.
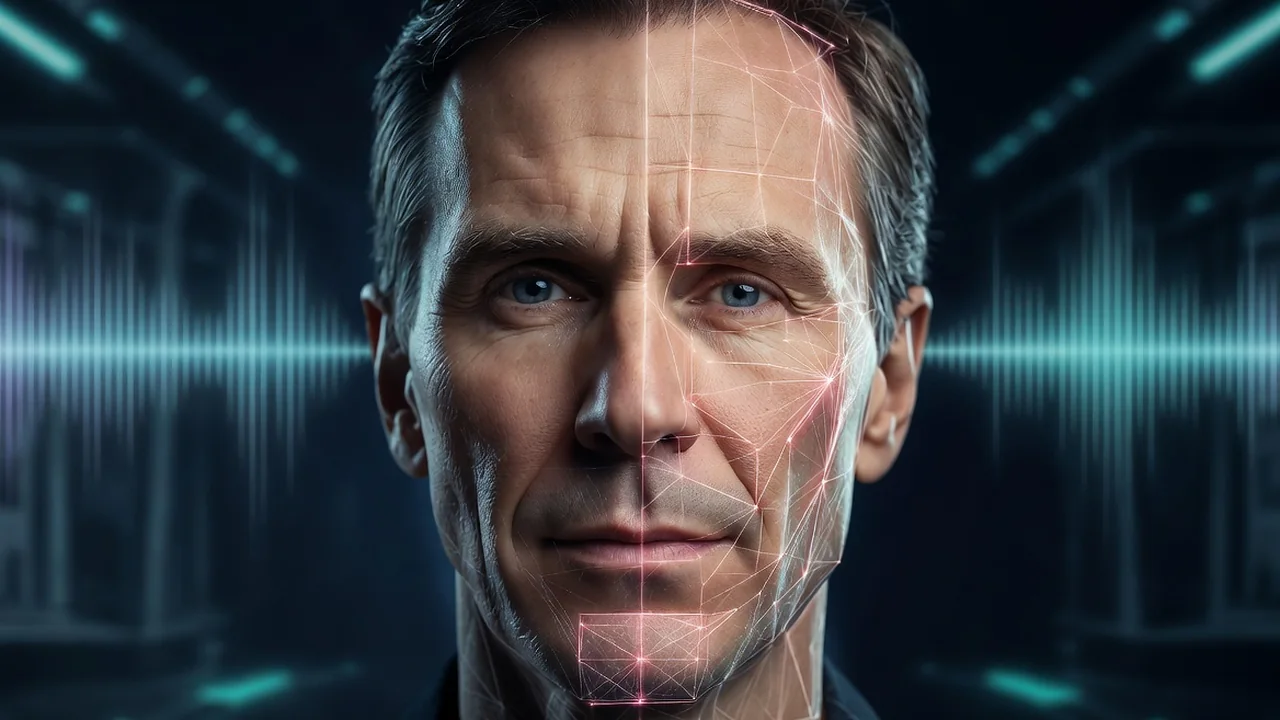
VANIV Avatar Studio at a glance
| Area | What VANIV Avatar Studio offers |
|---|---|
| Source image | One authorized portrait of a single person |
| Speech | Text with a saved VANIV voice or your own audio |
| Voices | Voice Design, your own or another authorized cloned voice, saved voices |
| Performance | Presenter, Calm or Expressive |
| Language versions | The same avatar with different languages and scripts |
| Preview | Fast 720p draft |
| Final export | 1080p avatar video |
| Processing | Locally on your own computer |
| Rights | Confirmation of image rights, consent and responsible use |
How to create an AI avatar with VANIV
1. Choose a portrait
Select a sharp, well-lit image in which the face is shown as frontally and completely as possible. This portrait becomes the visual foundation of the avatar.
The clearer the eyes, mouth, jawline and facial contours are, the better VANIV can align movement with the speech track. You can replace the image before generating the video, allowing you to prepare different authorized avatars, outfits or visual styles.
2. Enter your text and choose a voice
Enter the script directly in Avatar Studio. Then select a saved VANIV voice and the appropriate language. VANIV generates the speech track and connects it with the local avatar animation.
You can create a new AI voice with Voice Design, clone your own or another clearly authorized voice, or use an existing offline AI voice.
This keeps the sound consistent across multiple videos and language versions. You do not have to prepare a new audio file outside VANIV for every clip.
3. Use your own audio instead
When your voice-over is already finished, you can import the audio file directly. This is useful for recordings you made yourself, externally edited speech tracks or audio prepared in another production step.
Avatar Studio aligns lip and facial movement with the existing speech. You do not need to generate the text again and can continue using your established audio workflow.
4. Choose the performance style
Not every video needs the same movement. A factual training video should feel different from a short marketing clip. That is why Avatar Studio offers three performance modes.
Presenter creates a clear, confident and professional delivery. It is suitable for product presentations, tutorials, corporate videos, training and longer explanations.
Calm uses more restrained movement and a steadier gaze. It works well for factual topics, educational content, trust-based communication and videos where the message should remain the focus.
Expressive adds livelier facial movement and more energy. This mode is suited to social media, marketing clips, attention-grabbing openings and more emotional content.
5. Review a draft and export the video
Generate a short 720p draft first. This lets you check pronunciation, voice, portrait, movement and wording before rendering the final clip.
Once the result is right, export the avatar video in 1080p. Processing takes place locally on your system. You can then use the video on YouTube, websites, social media, courses and presentations, or continue editing it in your preferred video software.
The ideal image for a natural AI avatar
The source image has a direct impact on the result. A clear portrait supports natural lip movement, stable facial animation and a more convincing overall appearance. Choosing the image carefully saves correction work and rendering time.
Use a front-facing portrait
The face should look straight at the camera or only slightly to the side. Both eyes, both sides of the face and the mouth should remain clearly visible. A small turn can work, while a strong side profile is much harder to animate convincingly.
A front-facing image gives the avatar animation a reliable reference for the mouth, cheeks, eyes and head movement. This matters even more across multiple languages because every language has its own rhythm and mouth shapes.
Use even lighting
The face should not disappear into dark shadows or be blown out by excessive light. Soft light from the front or slightly from the side is ideal. Hard shadows across the eyes and mouth, strong backlighting or a face lit on only one side make important contours harder to detect.
You do not need a professional photo studio. A bright room, a window in front of the person or a well-positioned lamp is often enough. The important point is that the eyes, lips, cheeks and jaw remain clearly visible.
Use a sharp image with sufficient resolution
Avoid blurry screenshots, tiny profile pictures and heavily compressed files. A higher-resolution portrait contains more detail and gives the animation a stronger foundation.
View the image at full size before importing it. When the eyes or lips already look blurred in the original, the avatar process cannot reliably recreate missing detail.
Show only one person
The image should make it immediately clear which person is meant to be animated. Group photos, people in the background or faces on posters can make selection less reliable. Use a single-person portrait with clear separation between the subject and the background.
Keep the mouth and eyes visible
Hands in front of the face, large microphones, masks, very dark sunglasses or hair covering the mouth are poor starting points. Regular glasses, beards and different hairstyles can work well as long as the key facial areas remain visible.
A beard does not rule out a good result. However, the approximate mouth position still needs to be visible and the image must contain enough detail. The more the mouth area is covered, the harder it becomes to create convincing lip movement.
Choose a natural facial expression
A neutral, attentive or gently friendly expression is a strong starting point. Avoid photos with a wide-open mouth, closed eyes, extreme laughter or exaggerated grimaces. The portrait should feel like a calm starting frame for the later movement.
Use a simple background
A clean background keeps attention on the avatar and generally looks more professional. Busy patterns, strong contrast immediately behind the head or many objects in the scene can make the result feel unnecessarily restless.
The background does not have to be white. What matters is a clear visual separation between the face, hair, clothing and surroundings.
Avoid extreme filters
Strong beauty filters, artificially enlarged eyes, distorted facial proportions or aggressive sharpening effects can lead to unnatural movement. An authentic, clean portrait is the better foundation.
Well suited or less suitable?
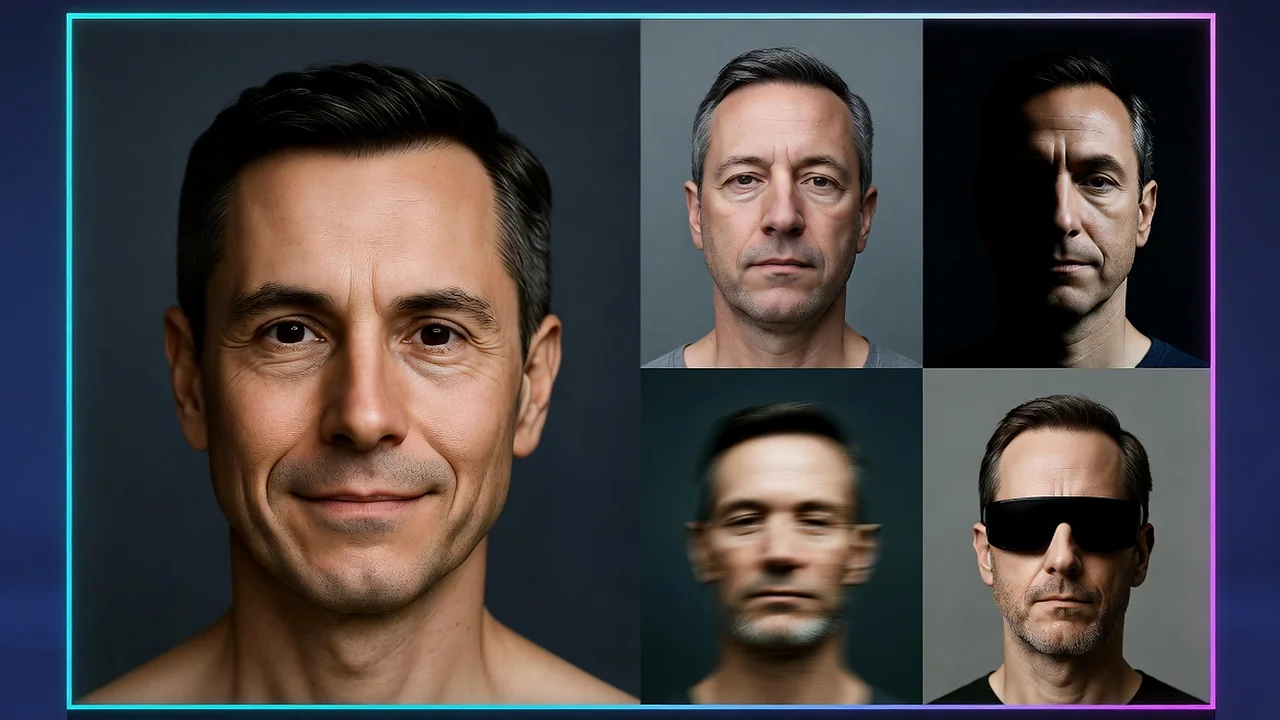
Well suited
- front-facing or nearly front-facing image
- sharp image with sufficient resolution
- evenly lit face
- both eyes and the mouth clearly visible
- natural facial expression
- only one person in the image
- simple background
- no extreme filters or distortions
Less suitable
- strong side profile
- blurry or heavily compressed screenshot
- harsh shadows or strong backlighting
- covered eyes or mouth
- exaggerated grimace or wide-open mouth
- several people in the image
- very busy background
- heavily altered facial proportions
Simple rule: The clearer, more frontal and more natural the source image looks, the stronger the foundation for a convincing avatar.
How to prepare text and audio correctly
A good portrait is only half of the process. The script, pronunciation and audio quality also influence how natural the finished avatar video feels.
Write the way people speak
Short, clear sentences usually sound more natural than heavily nested paragraphs. Punctuation helps the voice place pauses and emphasis in sensible positions. Read the text aloud once. When you stumble over a sentence yourself, simplify it.
Write abbreviations, numbers, product names and foreign-language terms in the form that should be spoken. For difficult names, a clearer phonetic spelling can help.
Choose the correct language
The language setting needs to match the script. A German text with an English language setting, or the other way around, can reduce pronunciation quality and distort rhythm. For mixed-language scripts, select the main language and adjust critical terms deliberately.
Split long content into sections
For longer training videos, courses or presentations, divide the content into several clips. This makes it faster to correct or replace individual sections without generating the entire video again.
An introduction, several main sections and a conclusion are more flexible in the final edit than one very long clip.
Use clean audio
Your own audio should contain as little echo, music and background noise as possible. The voice needs to sit clearly above the surroundings. Consistent volume and clean edits help the animation follow the rhythm of the speech.
Avoid clipped audio, long silent sections and hard cuts in the middle of a word. It is better to add music underneath the finished avatar video later than to include loud music in the speech file itself.
Test a short section first
Before exporting a long clip, test a short passage. Check the following:
- Is the pronunciation correct?
- Does the voice suit the avatar?
- Does the speaking pace feel natural?
- Is the selected performance mode appropriate?
- Are names and technical terms pronounced correctly?
- Does the portrait still work well in motion?
A short draft prevents an entire long video from having to be generated again because of one mispronounced term.
One avatar for creators, companies and agencies
For creators and YouTubers
Create intros, explainer videos, product presentations and multilingual versions without recording every script again on camera. A recognizable avatar can support different formats, series and languages.
For companies and course providers
Produce training, onboarding content, product videos and internal explanations with a consistent avatar. Portraits, voices and unpublished material remain under your control within the local production workflow.
For agencies and client projects
Build reusable avatar workflows with authorized client portraits and voices. Scripts, languages and voice-overs can be adapted without arranging a new filming day for every variation or consuming usage-based cloud video credits.
Common uses for AI avatars
Multilingual product videos
Present the same product in several markets with one consistent avatar. The face, voice and visual identity remain recognizable while the script and language change. You can also translate a video with AI in VANIV and create additional language versions from existing footage.
Online courses and training
Course modules change over time. Features, processes, prices or instructions need to be updated. With an avatar, you can recreate individual sections without recording the full course again.
Internal corporate communication
Onboarding, process instructions, safety information and internal updates can be delivered in multiple languages. Local processing is especially valuable when unpublished material or sensitive project information is involved.
Social media and marketing
Use a recognizable avatar for Shorts, Reels and campaigns, then adapt the same message for different platforms and languages.
Websites, support and product guidance
An avatar can explain features, answer common questions or guide visitors through a complex process. Short videos are particularly effective when a product is easier to understand visually than through a long block of text.
Connect new content with existing videos
Avatar Studio creates new videos from a portrait and a speech track. VANIV’s local video dubbing workflow can also translate and revoice existing videos and connect them with additional language versions.
Local avatar creation instead of mandatory cloud upload
Portraits, voices and unpublished video content are among the most personal files in an AI workflow. VANIV Avatar Studio processes avatar generation locally on your computer. You do not have to send the source image and speech file to an external avatar platform for every video.
You retain control over:
- portraits and audio files
- saved voices and speaker profiles
- unpublished scripts and product information
- drafts, variants and final exports
- recurring production workflows
- storage of your project files
Avatar Studio does not stand alone. The module complements Voice Design, Voice Cloning, text-to-speech, VideoDub, subtitles and export. The VANIV local AI studio connects these production steps in one application.
Local processing does not remove responsibility. Rights, consent and disclosure requirements still apply. VANIV therefore makes these requirements clearly visible before generation begins.
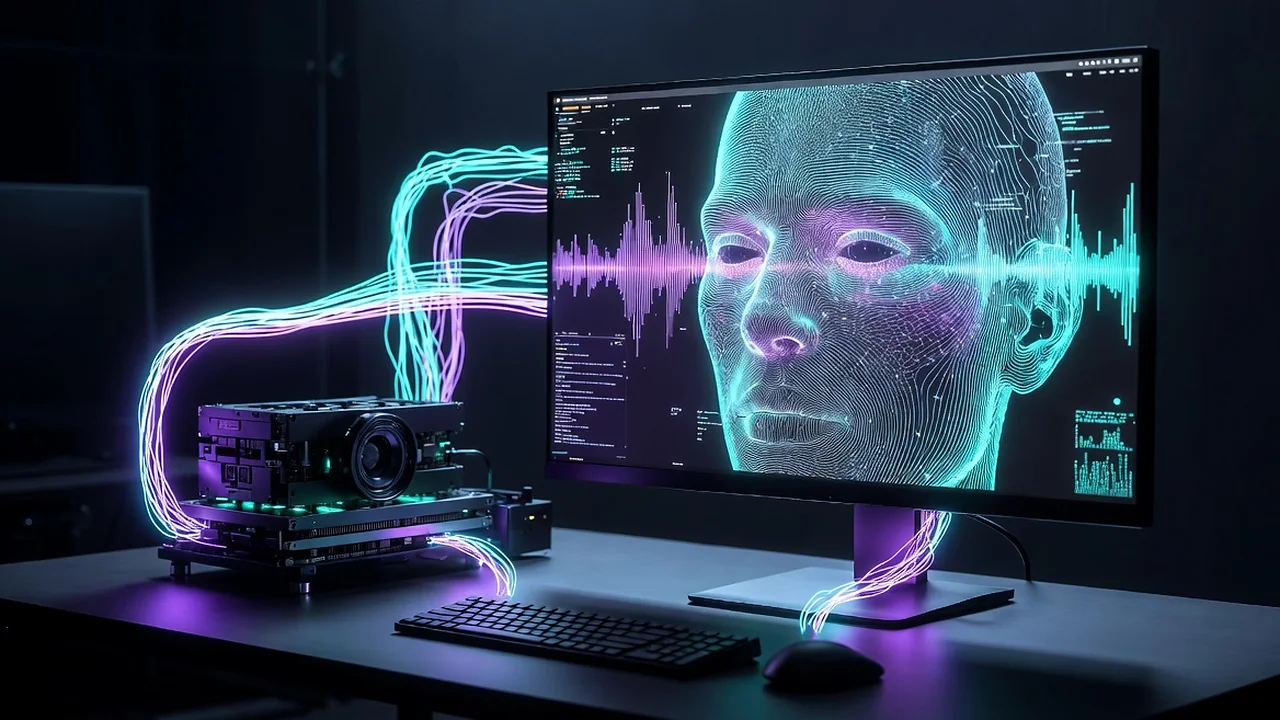
VANIV Avatar Studio and HeyGen take different approaches
HeyGen provides avatar and video features through a cloud platform. VANIV combines AI avatars, Voice Design, authorized Voice Cloning, video dubbing, subtitles and export in a local workflow on your own computer.
The central difference is not whether both solutions can create avatar videos. The difference is where the portrait, voice and project are processed and how the complete production workflow is structured.
VANIV focuses on:
- local processing of avatar projects
- control over portraits, voices and project files
- Voice Design and authorized Voice Cloning within the product
- a direct connection between avatar creation and video dubbing
- a reusable workflow without usage-based cloud video credits
VANIV is not a smaller copy of a cloud platform. It deliberately follows a different model: local control and a connected AI video studio on your own computer.
What hardware makes sense for local AI avatars?
Creating an avatar video requires more computing power than basic text processing or generating a short audio file. Rendering time depends on video length, resolution, performance mode, model and your system.
A modern dedicated GPU speeds up local avatar generation considerably. Sufficient system memory and free SSD space also matter because models, temporary files and video exports require storage.
A practical workflow is:
- Generate a short 720p draft.
- Review the script, pronunciation, voice, portrait and movement.
- Render the final 1080p export only after the draft is approved.
This uses your hardware efficiently and reveals problems before a longer render begins.
The VANIV hardware overview provides further guidance on GPUs, system memory, SSDs and local AI acceleration.
Rights, consent and responsible use
A realistic avatar must not be created from another person’s image without permission. VANIV therefore requires clear confirmations before video generation begins.
You confirm that you hold the necessary usage rights for the portrait. The person shown must have explicitly agreed to the creation of the avatar. Where legally required or appropriate for the audience, the final export must be identified as synthetic media.
These rules also apply when an image or a voice is publicly available online. Publicly visible does not mean free to use. A recording, podcast or video on the internet is not automatic permission to clone a voice or use someone’s likeness commercially.
Use Avatar Studio only with:
- your own portrait
- portraits with clear, verifiable permission
- your own or otherwise authorized voices
- scripts, images, audio and other media for which you hold the necessary rights
- transparent disclosure where it is required or appropriate
Local processing protects your files from mandatory upload to an avatar cloud service. It does not replace your responsibility to use the technology lawfully and fairly.
Learn more in the guide to voice cloning law, consent and responsible use.
Frequently asked questions about VANIV Avatar Studio
An AI avatar is an animated representation of a face whose lip and facial movements are aligned with a speech recording. In VANIV Avatar Studio, an authorized portrait provides the visual foundation. The avatar then speaks text using a VANIV voice or follows an existing audio file.
Yes. One suitable portrait is enough as the foundation. For a natural result, the face should be as front-facing, sharp, well lit and fully visible as possible.
Yes. VANIV combines an authorized portrait with a generated or imported speech track and creates a talking, lip-synced avatar. The result is an avatar video, not merely a visual photo filter.
A high-resolution front-facing portrait with a neutral or gently friendly expression is ideal. Both eyes, the mouth and facial contours should be visible. A simple background and even lighting create a stronger foundation for the animation.
Yes. A beard or regular glasses are not a problem in principle. The eyes, approximate mouth position and facial contours still need to be clear. Highly reflective sunglasses or a fully covered mouth are less suitable.
Yes. You can use your own clearly authorized voice as a saved speaker profile or import finished audio. You can also design a new voice with Voice Design.
No. You can combine an authorized portrait with a voice you created yourself, your own voice or another clearly authorized voice. The necessary rights and consent must exist for both the portrait and the voice.
Yes. You can use the same avatar with different scripts and languages. This creates multiple language versions without recording every variation again on camera.
Yes. In addition to text and a saved VANIV voice, you can import your own audio. For the strongest result, the speech should be clear, consistent in volume and largely free of loud music or strong background noise.
Yes. Avatar generation is processed locally on your computer. The portrait, voice and project files remain within your own production workflow instead of being sent to an external avatar platform for every clip.
The actual avatar generation runs locally. An internet connection may be needed for installation, model downloads, activation and updates. Once the local environment is set up, the avatar project is processed on your computer.
A modern dedicated GPU speeds up local generation significantly. Rendering time depends on video length, resolution, performance mode, model and system. For the first review, generate a short 720p draft before starting the final export.
The time depends on the hardware, video length, resolution and selected performance mode. A short 720p draft can be reviewed faster, while the final 1080p export requires more computing time.
No. Use only portraits for which you hold the necessary usage rights. The person shown must have explicitly agreed to the creation of the avatar.
No. Use only your own voice, voices you created yourself or voices for which clear authorization exists. A publicly available recording is not automatic permission to clone or use a voice commercially.
That depends on the use case and the applicable requirements. VANIV requires confirmation that the export will be identified as synthetic media where this is legally required or appropriate.
Avatar Studio creates a new talking AI avatar from a portrait and a speech track. VideoDub translates and revoices existing videos, detects speaker roles and combines new voices with subtitles, timing and export. Both workflows are part of VANIV and can be used together.
Avatar Studio is a core module of VANIV Studio. It complements text-to-speech, Voice Design, Voice Cloning, VideoDub, subtitles and Smart Import within the same local application.
Yes. You can create avatar videos, intros, explainers, product presentations and multilingual versions for YouTube. Before publishing, verify the rights to the portrait, voice, music and all other content, as well as any disclosure requirement.
Yes, provided you hold the necessary rights to the portrait, voice, script, music and other media and comply with the applicable VANIV license terms.
Your avatar. Your voice. Your local workflow.
Create an AI avatar from an authorized portrait, use a saved VANIV voice or your own audio, and produce videos in multiple languages — without recording every version again on camera.
VANIV Avatar Studio brings the avatar, voice, language and video together in one local application. It is built for creators, companies, course providers and agencies that need a reusable production workflow rather than a single demo clip.
Free · no obligation · unsubscribe at any time