
Clean use cases
- your own voice
- voices with written permission
- speakers who approved the specific use case
- newly designed voices that do not imitate a real person
To clone your own voice with AI, start with clean, consistent speech and a voice you own or are clearly authorized to use. Then generate a short test, listen for noise, pronunciation and cadence problems, fix the source issue and only then move to longer voiceovers or dubbing.
This guide shows you how to record your own voice, test it locally and use it in a VANIV creator workflow — without guessing, wasting credits or switching tools for every experiment.
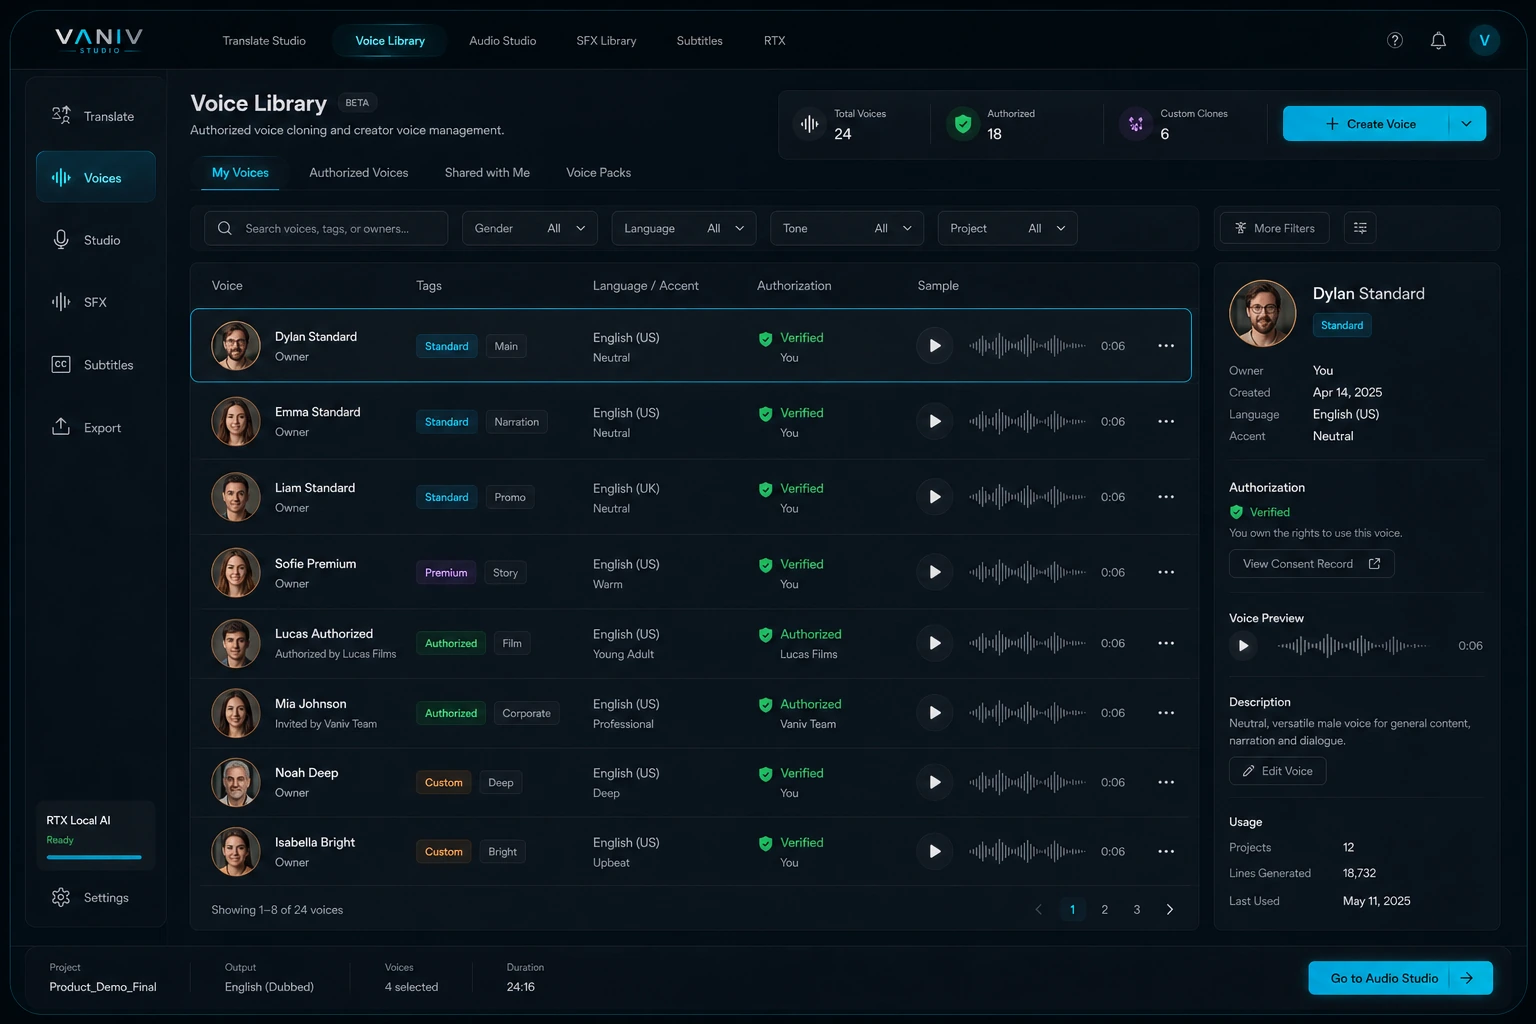
You do not need to start with the most expensive microphone to clone your own voice. You need clean audio, a quiet room, a consistent microphone position, clear rights and a workflow that encourages short tests before long exports.
That is less flashy than “one click and a perfect voice”, but it is the honest answer. Voice cloning is not a magic trick. It is a production process. The cleaner your source material is, the more useful and natural your AI voice can become.
This is the most practical part of the process. A voice-cloning model picks up more than tone: room noise, echo, mouth clicks, clipping, microphone distance and inconsistent delivery can all affect the output. Better input does not guarantee perfection, but weak input usually creates more correction work.
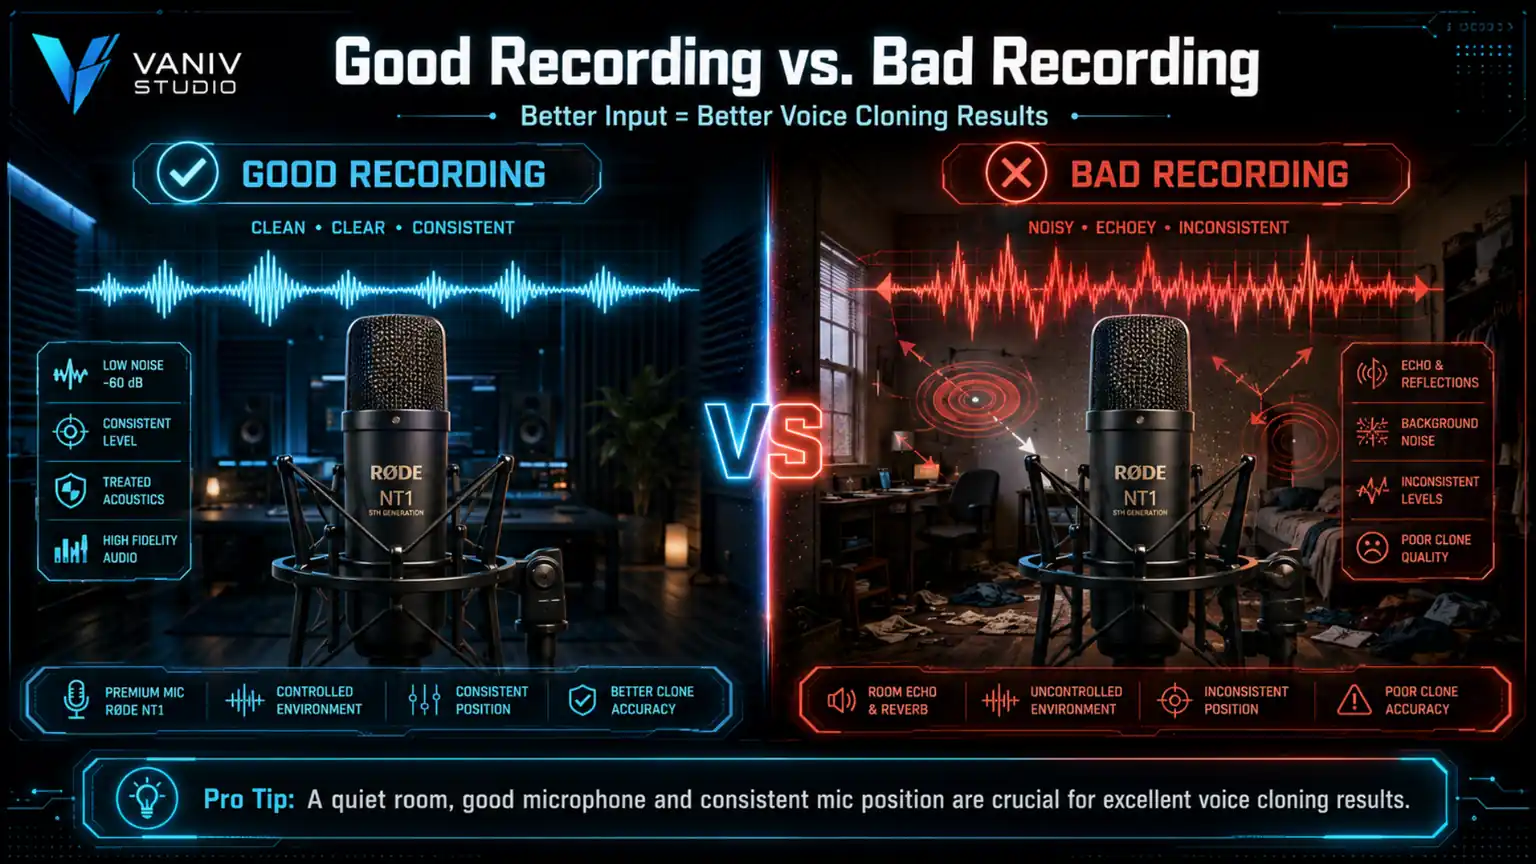
A short, clean and consistent recording can be more useful than a much longer collection of noisy clips. The exact amount depends on the model and use case, but recording quality remains one of the strongest levers you control.
Do not approach voice cloning as “open a tool and hope.” Approach it like a small production pipeline: prepare, test, review and export.
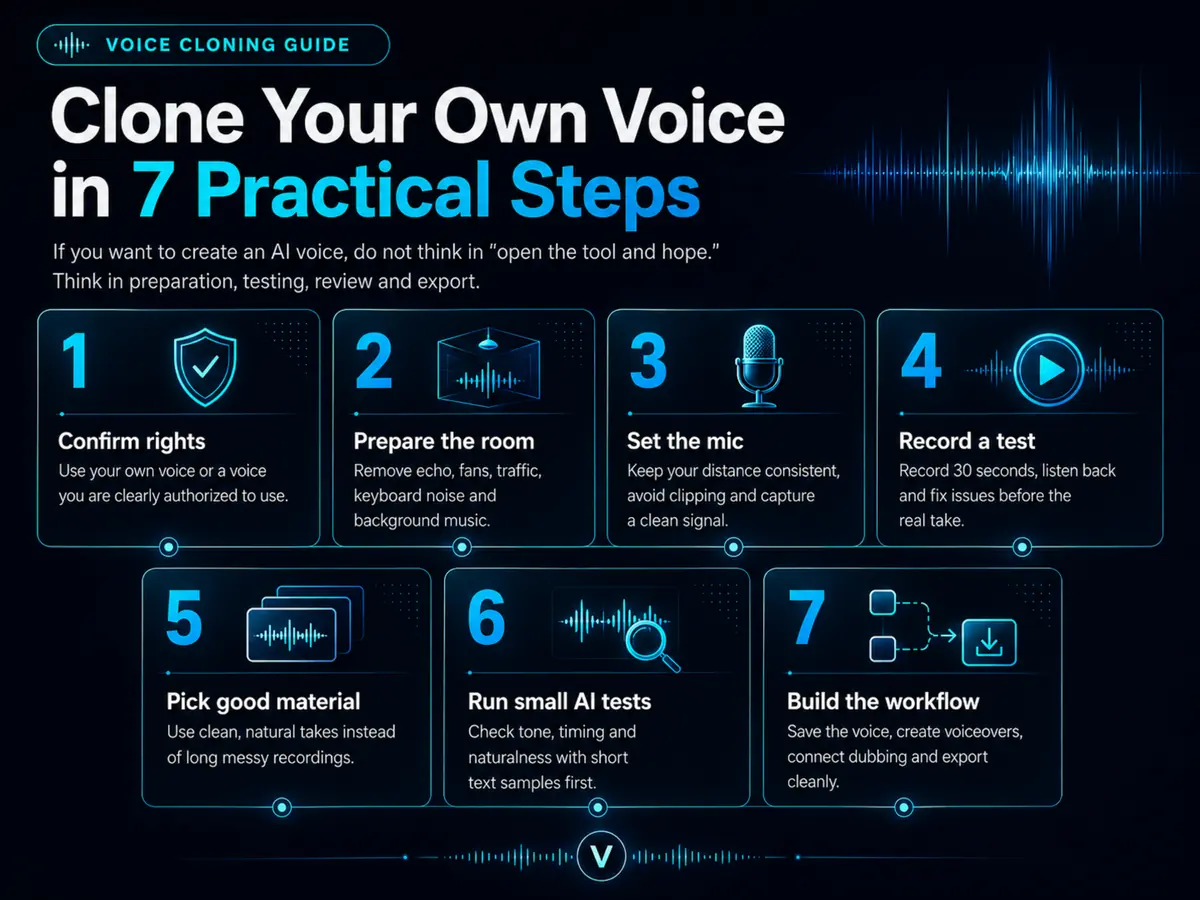
This is the foundation. Professional voice cloning starts with consent, usage rights and a clear purpose.
A voice is not just another sound effect. It can carry identity, trust and brand recognition. Just because a tool can imitate a voice does not mean you should publish it.
If you want to use VANIV or any voice cloning tool professionally, keep the rule simple: use your own voice, an authorized voice or a properly cleared speaker agreement. Read more in the guide to law and ethics in voice cloning.
Good recording quality does not require a Hollywood studio. It requires control: less echo, less noise, less distortion and a voice that sounds natural before any AI touches it.
A common beginner mistake is expecting the model to repair weak source audio. Echo, clipping and background noise still carry into the result. If the original sounds as though it was recorded beside a laptop fan in a reflective room, record it again before changing tools.
Raw length is not the goal. What matters is clean, varied and relevant speech material.
For a first voice cloning test, short clean speech passages may be enough. The goal is to see whether the voice, recording and workflow basically work.
For more stable results, use several minutes of natural speech with different sentence lengths, emphasis and calm passages. Variation beats raw length.
Old videos are often worse than they look: background music, compression, cuts, room echo and noise can all reduce cloning quality.
For courses, ads or dubbing, record material that matches the later use case: explanatory, calm, emotional or short and promotional.
Ten minutes of clean, useful material beat sixty minutes of messy leftovers. If you want to use your AI voice for YouTube, courses or product clips, ask not only “how much audio do I have?”, but “is this audio clean, natural and relevant?”
Voice material for a course should not sound like a radio ad. A YouTube narration voice needs different material than a short product clip.
Record clear explanatory sentences with natural emphasis. Use phrases you would actually say in future videos.
Focus on calm, understandable speech. The voice should stay pleasant over time, not just impress in a 10-second demo.
Add more energetic takes, short statements and clear calls to action. Do not overact, though — that is where AI voices quickly start to sound fake.
Plan different emotions and sentence lengths. In multi-voice dubbing, timing and speaker consistency matter a lot.
The cloned voice is not the finish line. The real value starts when that voice becomes part of a repeatable creator workflow.
Your voice should not live as a random test file. Manage it cleanly so you can reuse it across projects and keep output consistent.
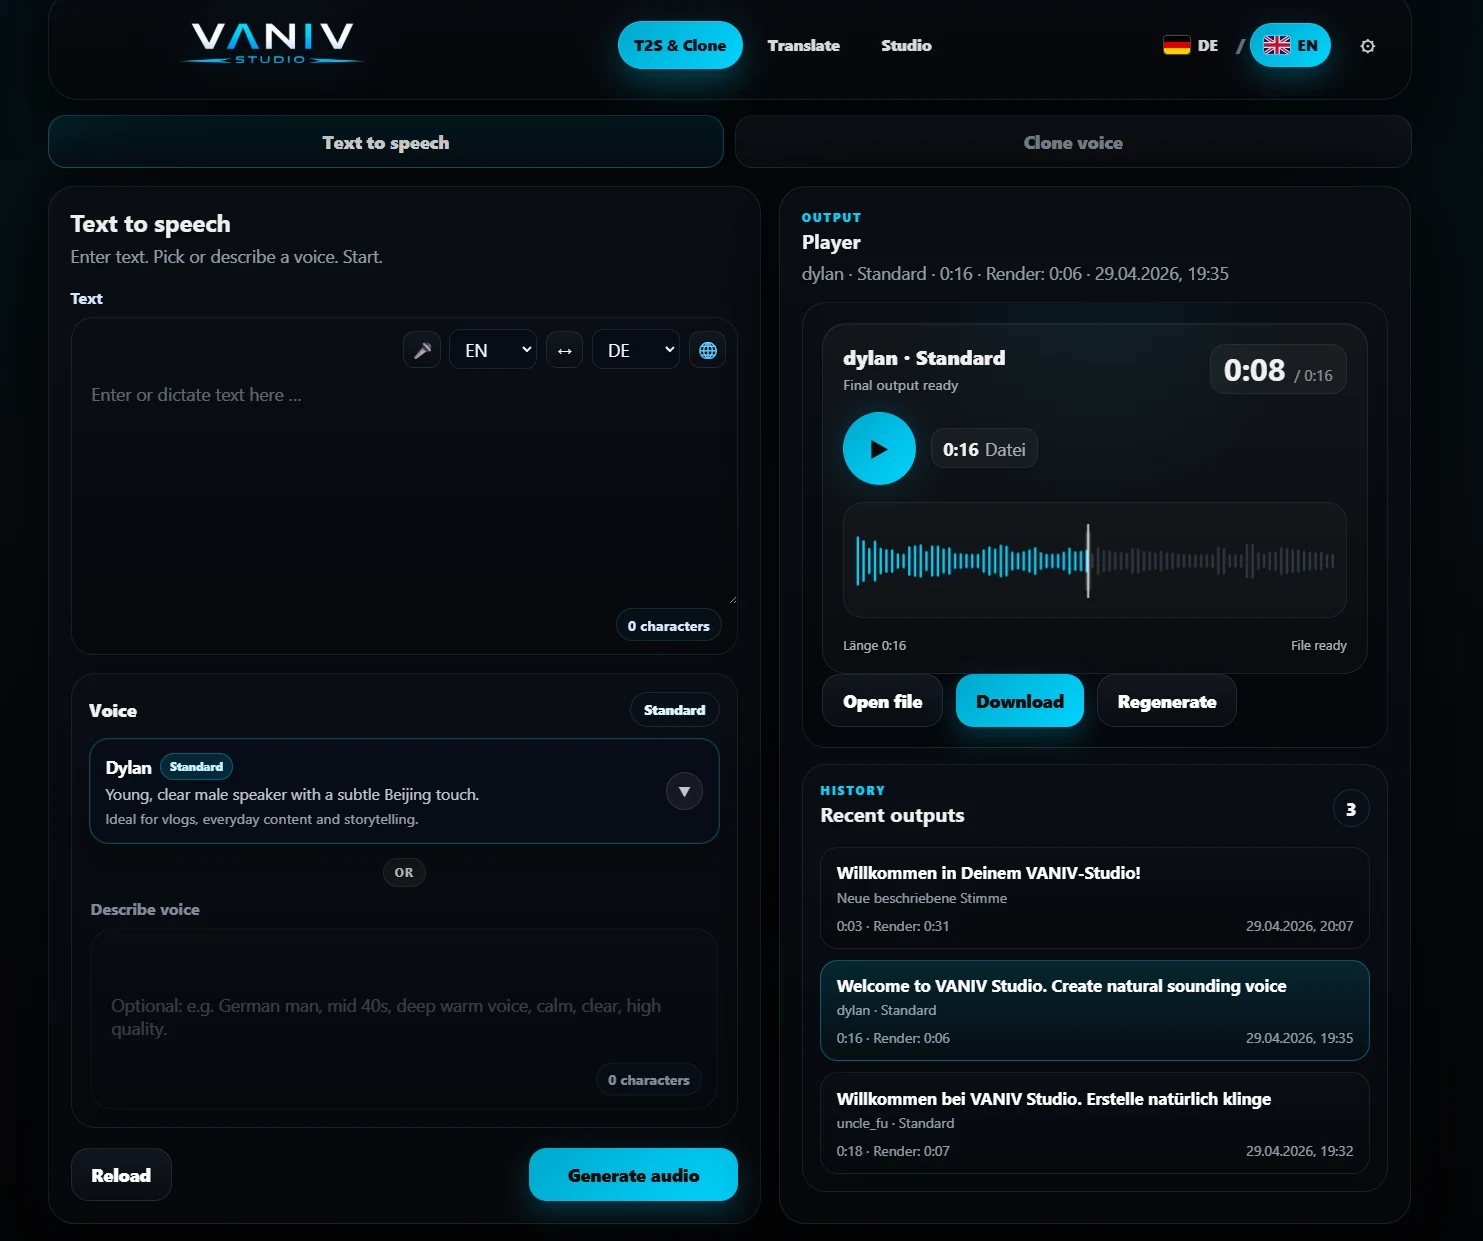
Start with small text samples. Check sound, emphasis, speed and clarity before rendering a long video or full script.
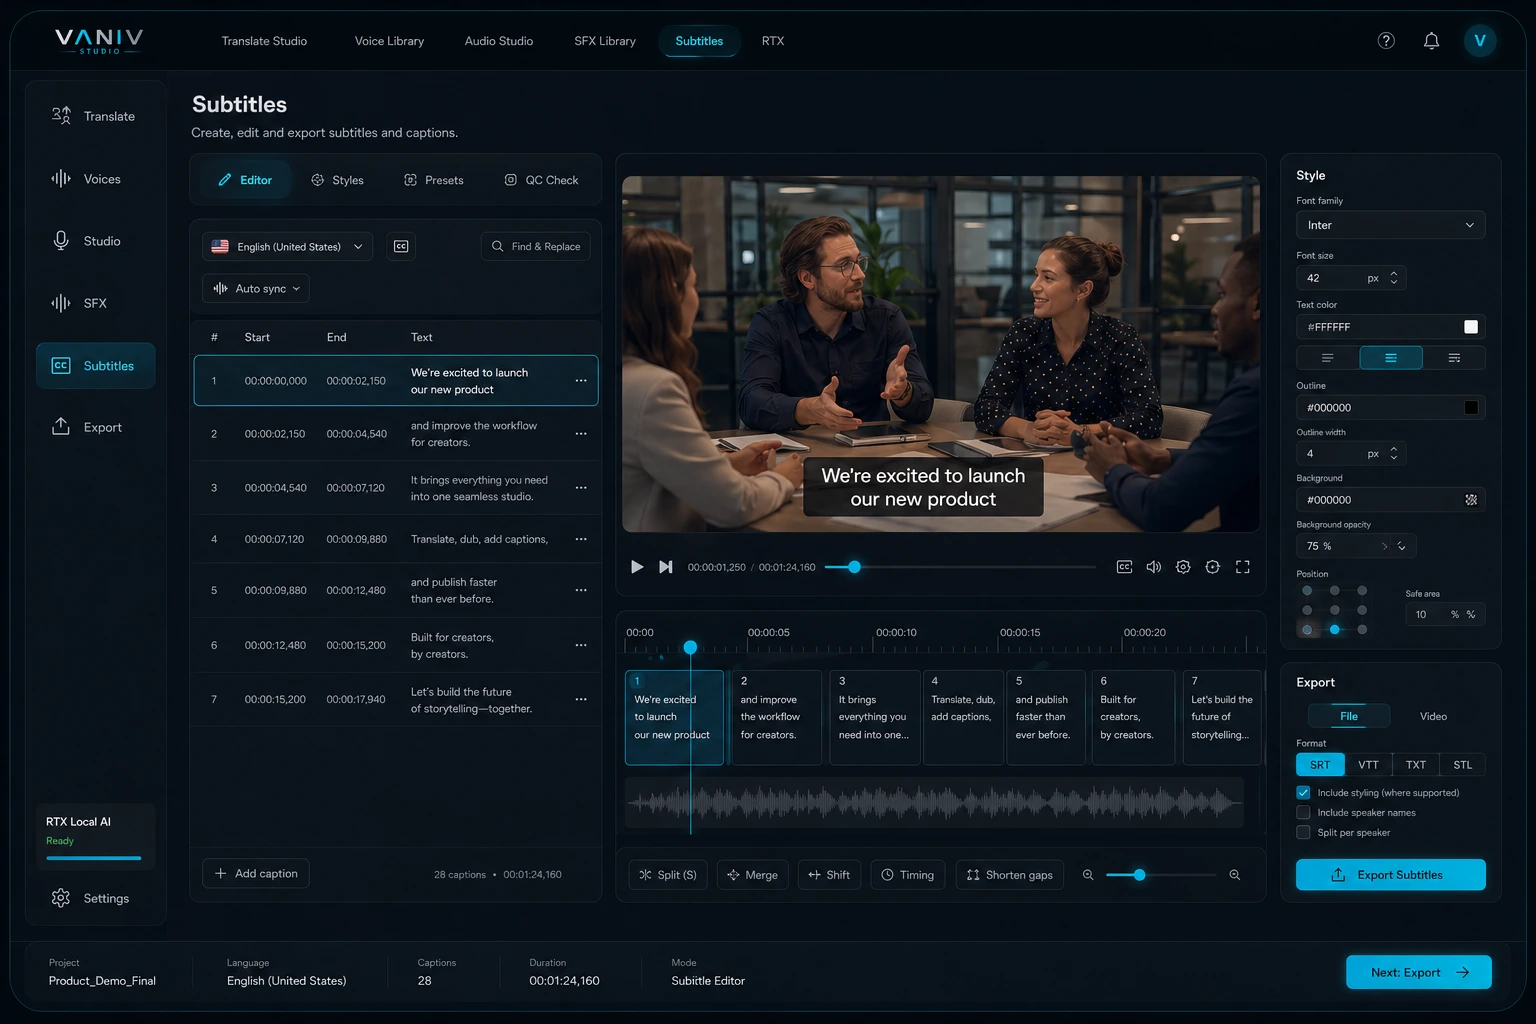
A cloned voice is not enough if everything breaks after generation. Subtitles, SFX, dubbing and export should live in the same workflow.
Do not switch tools immediately. First check whether the source audio and the script are good enough.
Many creators write scripts like blog posts and then wonder why the AI voice sounds stiff. Spoken language needs shorter sentences, cleaner structure and more natural transitions.
A simple test: read the script out loud. If you stumble, the AI voice will probably struggle too. Writing simpler is not lowering quality. It is optimizing for audio.
Cloning your own voice is not only about sounding impressive in a short demo. For creators, the real advantage appears when the voice becomes part of a repeatable production system: YouTube voiceovers, course lessons, product explainers, translated videos, short-form clips and client projects can all use the same recognizable voice.
The trap is thinking that voice cloning is solved by opening one cloud tool, uploading a random recording and hoping for magic. That usually leads to inconsistent tone, rushed speech, strange pronunciation and wasted time. A better approach treats your voice like production material: record it cleanly, test it in short samples, keep the best takes, check rights and connect the voice to your actual workflow.
Creators who publish repeatedly and want a consistent voice across tutorials, faceless videos, product content, courses or multilingual versions.
Clean recording quality matters more than switching models every day. A quiet room, stable mic position and consistent delivery improve nearly every cloning result.
VANIV is useful when voice cloning should not be a one-off demo but part of a local workflow with saved voices, TTS, dubbing, subtitles and export.
Cloud tools can be convenient for quick tests. They are often fast to open, easy to try and good enough for simple voiceover experiments. But the more often you produce, the more the workflow matters: upload friction, credit limits, privacy questions, version control and scattered exports become real problems.
A local-first workflow is not automatically better for every beginner. It becomes stronger when you want more control over your voice material, want to repeat the same production steps, or want voice cloning to connect with video dubbing, subtitles and exports. This is where VANIV should feel less like another toy and more like a production desk.
| Scenario | Cloud tool | Local VANIV-style workflow |
|---|---|---|
| Quick one-off demo | Often convenient | Possible, but not the main advantage |
| Recurring YouTube production | Credits and separate exports can constrain iteration | Stronger because voice, subtitles and export stay connected |
| Sensitive voice material | Requires trust in upload and storage rules | More control because files remain in your own workflow |
| Multilingual video versions | Can require several separate tools | Better fit when dubbing, voice and export belong together |
For a deeper comparison, continue with the cloud vs. local AI cost comparison and the local ElevenLabs alternative guide. Those articles explain why credits, subscriptions and workflow control matter once you move beyond testing.
Hardware does not replace a good recording. But it decides how comfortable local AI workflows feel. Short tests can work on modest systems. Repeated voice cloning, TTS, video dubbing and export workflows benefit from a stronger PC.
Start with clean input: quiet room, stable mic distance, pop filter and low background noise.
A modern RTX GPU can make local AI workflows more comfortable, especially when voice, dubbing and video export are part of the same project.
Enough RAM helps when you work with audio, video, models, browser tabs and editing tools at the same time.
Fast storage keeps projects, models, exports and media files more responsive.
Improve the recording first, then improve the workflow, then upgrade hardware. Hardware links on VANIV may be affiliate links, but the advice stays the same: do not buy your way out of a bad room or weak source material.
The strongest use cases are not random jokes or one-off demos. They are repeatable formats where a consistent voice reduces production friction and increases recognizability.
A consistent cloned voice can make faceless videos feel more branded and less generic. Combine it with the faceless YouTube guide for niche selection, workflow and monetization strategy.
If you update lessons often, a reusable voice helps keep new modules consistent with older content.
Your voice can become part of multilingual videos when voice cloning connects with translation, subtitles and export. See the local AI video translation workflow.
Agencies can create repeatable client workflows when voice, scripts, subtitles and exports stay organized in one production system.
Most bad results have boring causes. That is good news, because boring causes are fixable. Before blaming the model, check the recording, the room, the script and the workflow.
| Problem | Likely cause | Fix |
|---|---|---|
| Voice sounds rushed | The script is too long or punctuation is weak | Shorten sentences and test smaller text blocks |
| Voice identity changes | Reference material is inconsistent | Use cleaner takes from the same room and mic setup |
| Voice sounds muffled | Room, mic position or source file is weak | Record closer, reduce room sound and avoid heavy noise reduction |
| Pronunciation is strange | Technical terms are not controlled | Use simpler wording, glossary notes and short test generations |
| Export feels cheap | Mixing and loudness are ignored | Check volume, transitions and final listening before publishing |
You do not need to perfect everything in one weekend. A simple 30-day plan is enough to move from random tests to a usable voice workflow.
Prepare the room, record several short takes, listen critically and keep only the cleanest material.
Generate small voice tests, compare pacing, check pronunciation and note what style works best.
Create one complete YouTube voiceover, course lesson or product explainer instead of endless demos.
Use VANIV to connect saved voices, TTS, dubbing, subtitles and export so the next project starts faster.
If you want to keep voice cloning under your own control instead of depending on another cloud subscription, these guides are the next logical step.

If you want to clone your own voice, these are the logical next reads.
When is a cloud tool convenient, and when does a local workflow make more sense?
Compare local ElevenLabs alternatives →Which voices can you use, and where does voice cloning become risky?
Read law & ethics in voice cloning →VANIV Studio is in Early Access. Request a personal Early Access and check on your Windows PC whether your recording and voiceover workflow works locally.